
There’s a lot a designer or engineer needs to keep in mind while designing parts. Functionality is obviously paramount. Manufacturability is right behind making sure it works.
When you strip away the powder-based processes, designing for manufacturability can move into places that many designers and engineers haven’t properly considered – especially when that part needs to have a large quantity made through 3D printing or if the part is large.
Many will yawn about making sure overhangs and degrees of precision between competing processes are accounted for but there’s something else that should be considered: the time needed to make the part. That time per part originates in how the part was designed.
A great engineer who designs for parts via CNC knows that they have to not only keep track of how many different kinds and sizes of tooling is needed, they also have to be cognizant of how a tool will travel and interact with the workpiece. This will have a direct impact on the cost of the part. This thinking must be extended to non-powder 3D processes as well. The biggest area ignored and perhaps one of the most important is working to keep the print head moving efficiently as possible in the least amount of time.
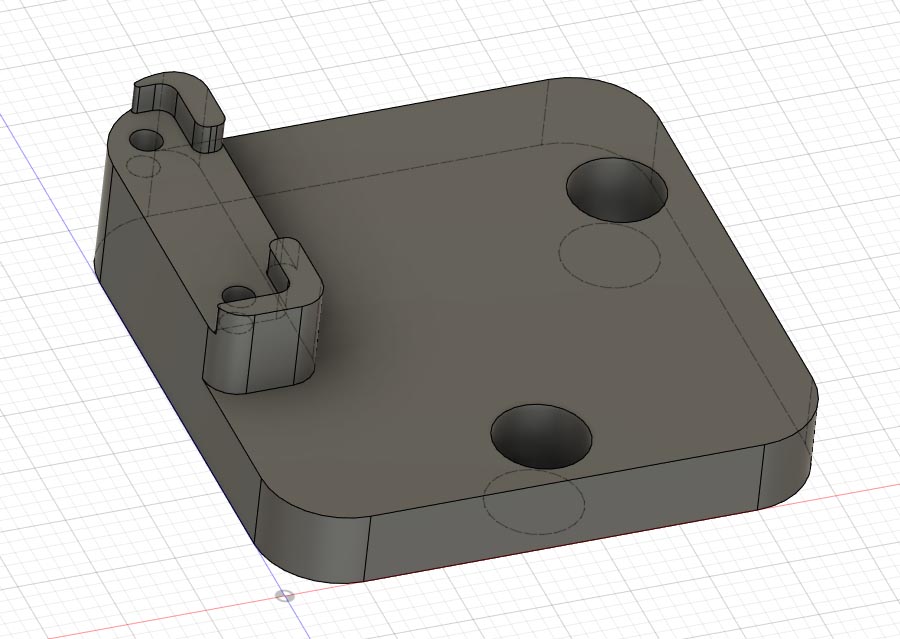
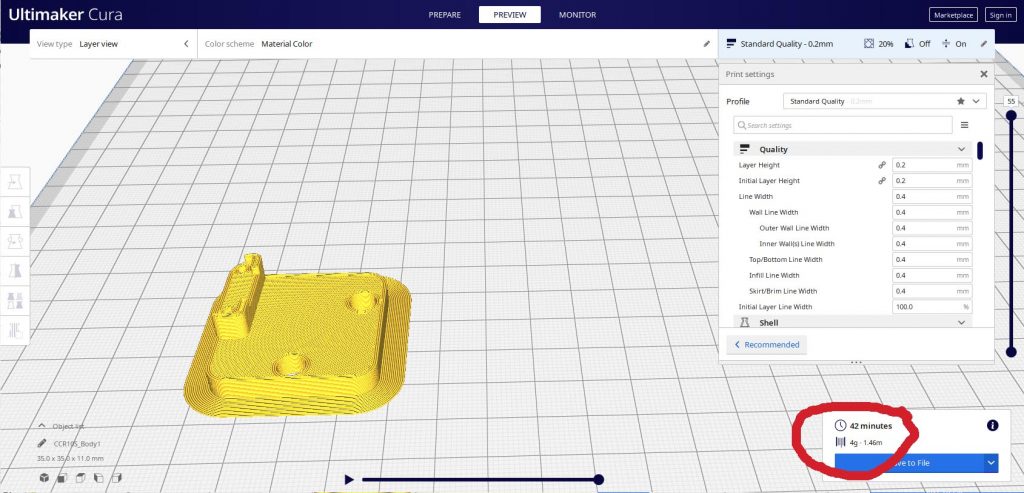
I think most of us are used to designing in solid modeling software. That means we’re used to thinking of carving the shape to get what we need – because the software is made to primarily develop parts for conventional subtractive processes. That thinking doesn’t get the most out of additive processes. To illustrate this, I needed to develop a bracket for a sensor. My usual solid block carving process would end up here:
Sure, this could be printed, but maybe we should be designing differently from the very start for an additive solution. Below is my first pass at thinking more additively:
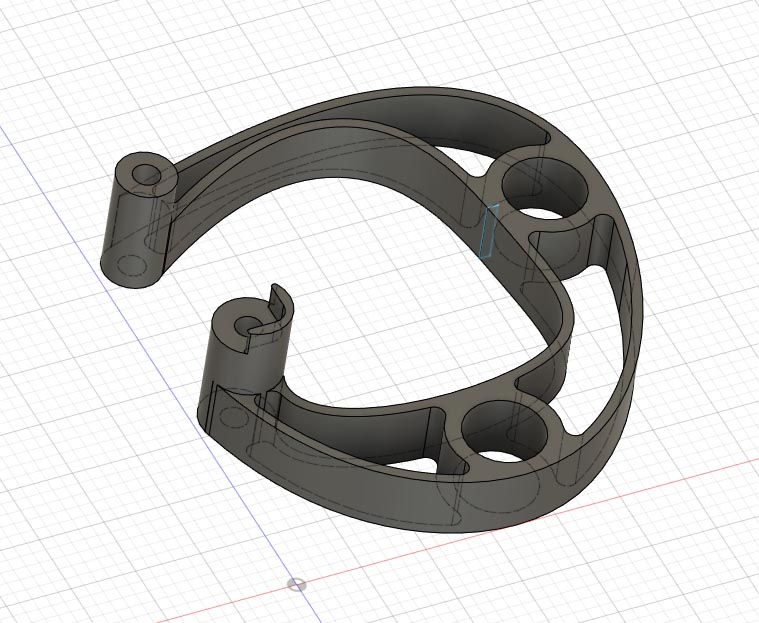
In this process, I started with the absolutely necessary aspects. I needed to position the sensor board in a specific orientation and secure it using the provided holes. The sensor also needed to be connected to the machine and clocked in a certain direction using provided screws and locations. From here, I worked to connect all of these features with material that would be enough to hold all in place. The material was also my best estimate of the most efficient paths for the printer to follow.
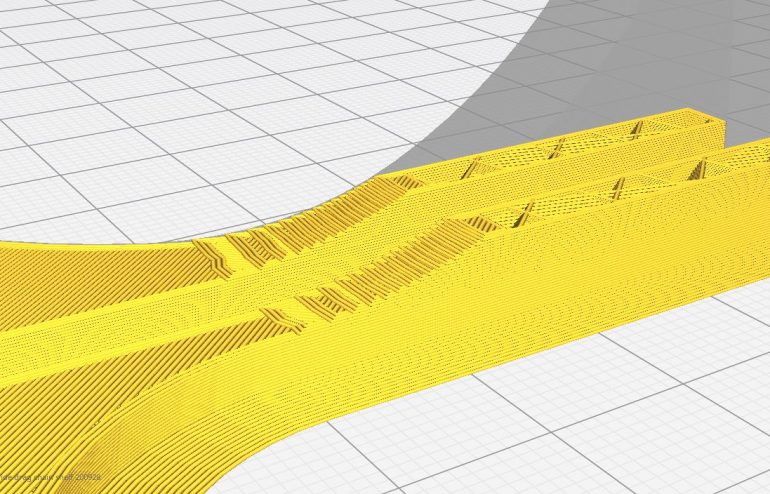
What did I get for my effort? Here’s the estimated time directly from Cura for the block-based approach:
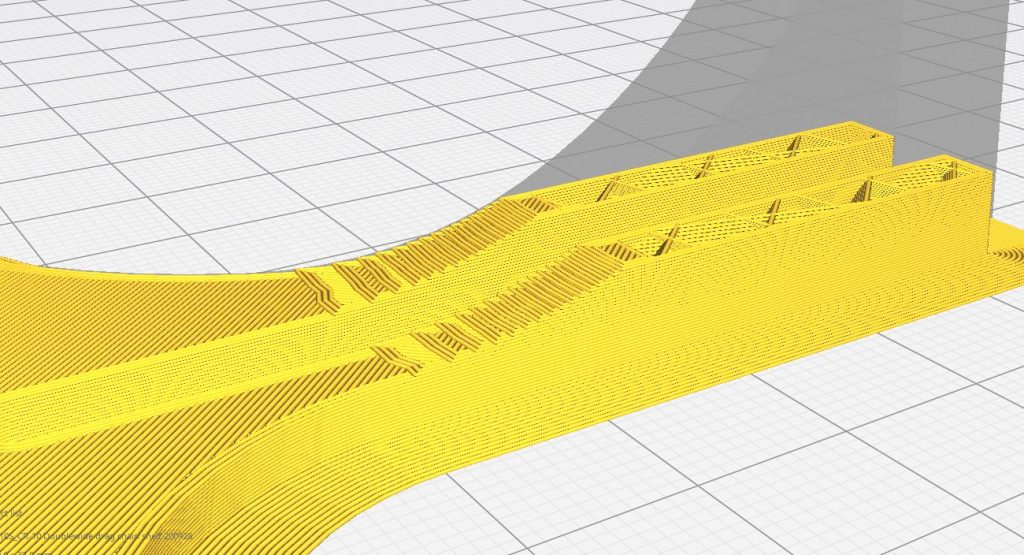
The second process looked like this with the same slicer settings:
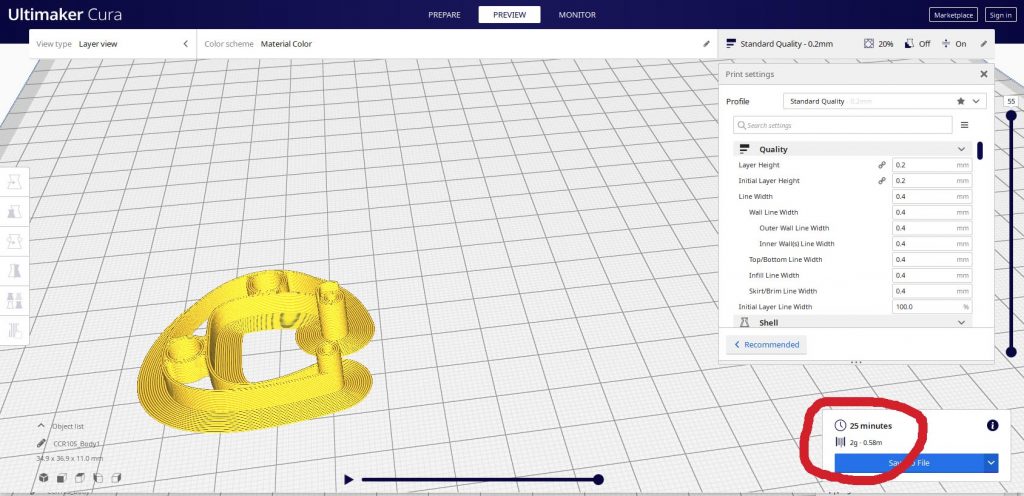
Admittedly, this is a small part, so the time savings is only 17 minutes. When you look at the percentage of time saved, it shakes out to a 40% reduction in total print time. And that’s without messing with esoteric slicer settings and machine speeds.
If the part took 8 hours to print, that 40% becomes a big deal. It also becomes a big deal when there needs to be a large quantity of parts printed. Because what’s similar between making parts on a subtractive machine and an additive machine is cost is based primarily on time-on-machine.