
SCALAR Digital Fabrication prefers files to be saved as DXF (AutoCAD version 12), in top view. We can work with other files but this format helps guarantee the best performance – both in finished component and turnaround time.
There are a number of ways a DXF file can be made and seemingly depth-less quantities of options available, it seems. To help out we’ve put together a few example file export methods out of common CAD programs that we know to produce files that work well with our own internal software and hardware.
File Creation Tips
Before getting into the details, it’s important to set the DXF file up before saving out.
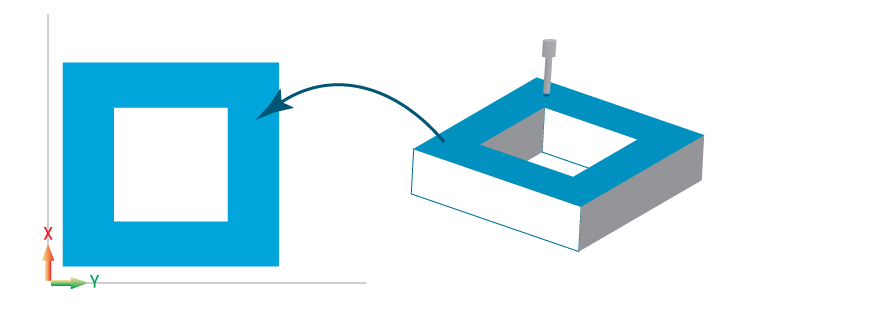
- First, it’s necessary to save the view that the tool will operate on (perpendicular to the cutting tool axis).
- Please also save a view that’s not on an angle (face to be cut aligns to XYZ planes.)
- For wood cutting projects, please indicate grain direction when necessary.
- Other views aren’t necessary – as we couldn’t operate on them at this time.
- Files should be saved in metric (mm) and at full scale. It’s best for everyone that the customer perform these conversions in the file’s native environment than having us perform the changes. This will help guarantee the best outcome.
To export from SolidWorks:
- Set display to view required
- File/Save As
- Select “DXF”
- Options:
- Version R12
- Export all splines as splines
- Export all sheets to separate files
- Press Save
To export from Rhino3D:
- File/Save As
- Select “DXF” (R12 Natural)
- Select “Top View”
- Press Save